A buffer day in Pokhara is most valuable when it prevents an avoidable problem on the trail. Use it to match permits to the exact route, confirm the guide and transport plan, check mountain weather and test the equipment you will actually carry. The lake can still be part of the day, but preparation comes first.
Start with the exact route, not a generic checklist
Write down the trailheads, protected areas, overnight stops and highest sleeping altitude on your confirmed itinerary. Nepal’s requirements vary by route. The Nepal Tourism Board’s current TIMS guidance lists specific trekking regions and routes where a licensed guide and a trekking-agency-issued TIMS card are required. Check your exact route against that list rather than relying on an old blog post or a friend’s previous trip.
A protected-area entry permit can be separate from TIMS. For an Annapurna itinerary, use the National Trust for Nature Conservation’s official permit system or its listed counter in Pokhara. Restricted areas follow a different process through a registered trekking agency and the Department of Immigration. Ask the agency to name every document you need and who will obtain it.
The permit rule: if a requirement cannot be tied to your exact route and an official source, it is not yet confirmed.
Build one document packet
Keep the practical paperwork together before you start buying last-minute gear. Carry the originals required by your operator and protected-area rules, plus paper and offline digital copies where appropriate.
- Passport details and Nepal visa information.
- Travel-insurance policy and emergency-assistance contact.
- TIMS, conservation-area or restricted-area permits required for the route.
- Agency, guide and accommodation contact details.
- A simple itinerary shared with someone who is not on the trek.
Check the spelling of names and passport numbers while corrections are still easy. Confirm what must be shown on a phone and what must be printed. Do not assume that a payment receipt is the same thing as an issued permit.
Separate Pokhara weather from trail weather
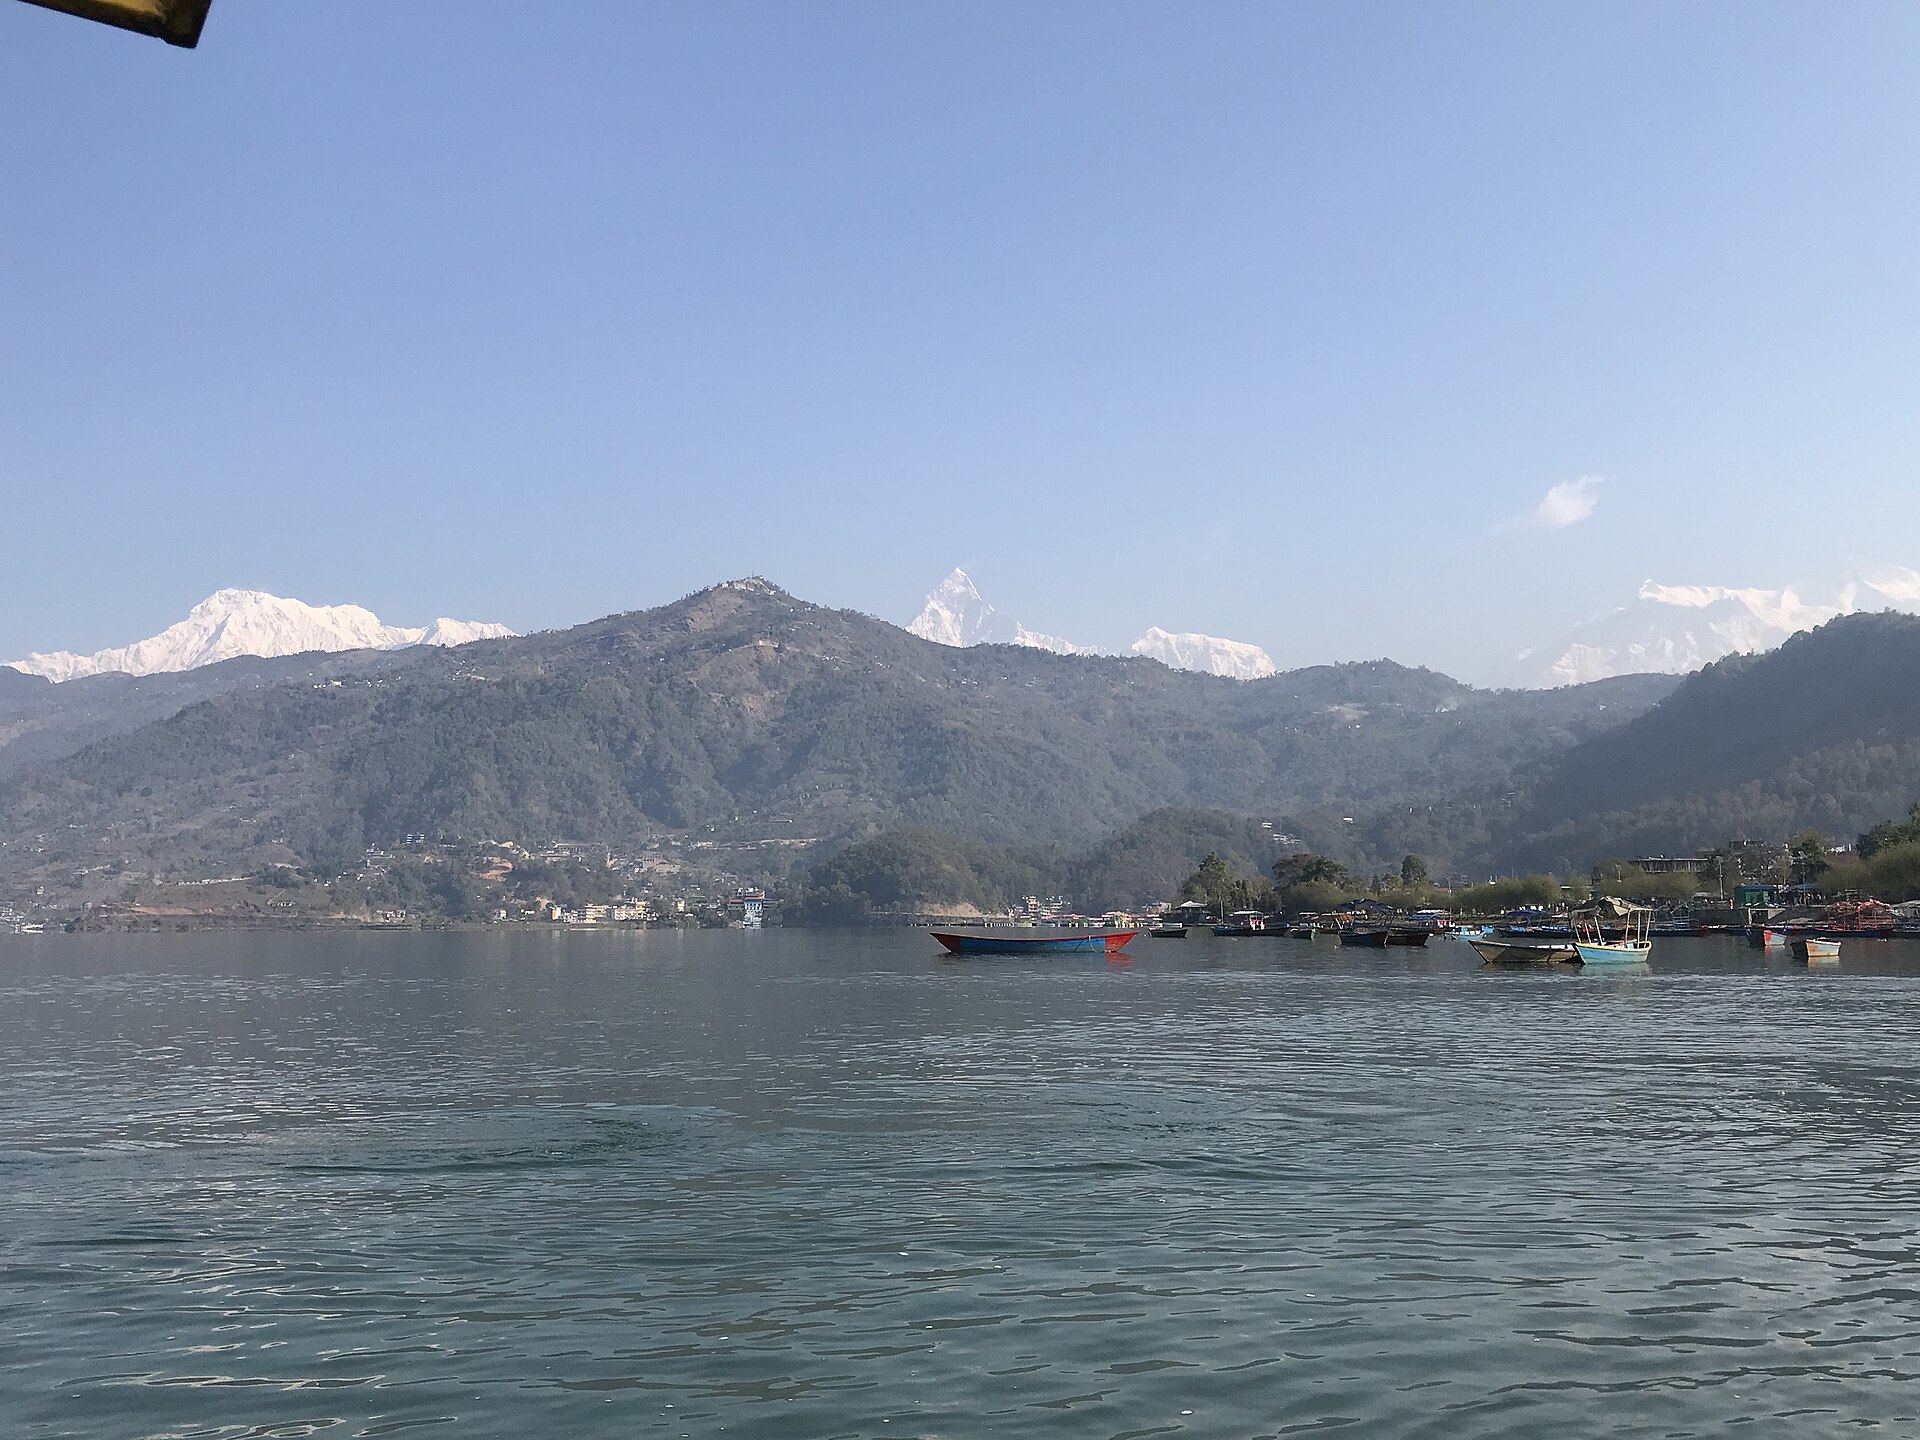
A pleasant morning beside Phewa Lake says little about conditions several days later or thousands of metres higher. Check the Nepal Department of Hydrology and Meteorology for the latest forecast and warnings, then ask the licensed operator for route-specific information from guides, lodges or transport providers.
Use the buffer day to make decisions that can still change safely: start time, trailhead transport, an extra weather layer and whether the itinerary needs more margin. Do not let a forecast tempt you into deleting acclimatisation days. Conditions can alter flight, road and walking times even when the route remains open.
Test the system you will carry
Pack once, walk for 30 to 45 minutes, then adjust. The test should reveal rubbing straps, inaccessible water, an overloaded daypack or a rain cover that does not fit. It is more useful than buying another piece of equipment because it appears on a universal list.
- Rain: shell, pack liner or dry bags, and a protected document pouch.
- Cold: layers that can be added without unpacking the whole bag.
- Water: the treatment method agreed with your guide, plus a backup.
- Power: charged phone, cable, power bank and essential details stored offline.
- Feet: already-tested shoes, dry socks and a small blister kit.
Leave non-essential weight in Pokhara if secure storage is available and documented by your accommodation or operator. Do not carry a large pharmacy without professional advice; bring your prescribed medicines and a sensible first-aid plan.
Use the easy walk to check your body
Keep the city portion gentle: a flat lakeside walk, an unhurried meal and an early night are enough. Pokhara is a staging point, not a substitute for gradual acclimatisation on the route. Nepal Tourism Board advises trekkers above 2,500 metres to treat possible altitude illness seriously, stop ascending if symptoms appear and descend if they worsen.
If you are arriving after a long flight or road journey, pay attention to sleep, hydration and stomach symptoms before departure. A day that feels “wasted” can reveal a problem while medical care, shops and communications are still close. For a comparable first-day pacing strategy, see our altitude-aware arrival guide to Arequipa.
Ask four questions before evening
- Documents: which permits are issued, and who holds the originals?
- Transport: where and when is the pickup, and what is the delay plan?
- Weather: what official forecast or warning changes tomorrow’s decision?
- Emergency: who contacts the insurer, agency and rescue provider if plans fail?
Confirm the guide’s name and a working contact, and make sure everyone understands the route rather than only the final destination. If the operator cannot explain the permits, avoids route-specific safety questions or pressures you to ignore a warning, do not solve the problem by leaving faster. Use the buffer.
Planning sources: Nepal Tourism Board TIMS guidance; National Trust for Nature Conservation permit support; Nepal Department of Immigration trekking-permit guidance; Nepal Tourism Board mountain-safety guidance. Information checked 24 September 2026. Permit rules, weather, road access and operator arrangements can change; verify them for the exact route before departure.
Featured image: “Phewa Lake and Annapurna Range, Pokhara” by Sugar.xli, licensed CC BY-SA 4.0, via Wikimedia Commons.